This page describes the checkpoint system that is present in some of my Portal 2 maps published on the workshop. The system is pretty self-explanatory; you only need to read this if you want to know all the details.
The checkpoint system is similar to auto-saves in the main game. However, I don’t want to overwrite any saved games you may already have, so I made my own system that keeps a separate save file for each specific map, independent of the save files for the game itself.
These saved games will not show up in the normal game interface. Instead, the map starts with a special room that serves as a menu:
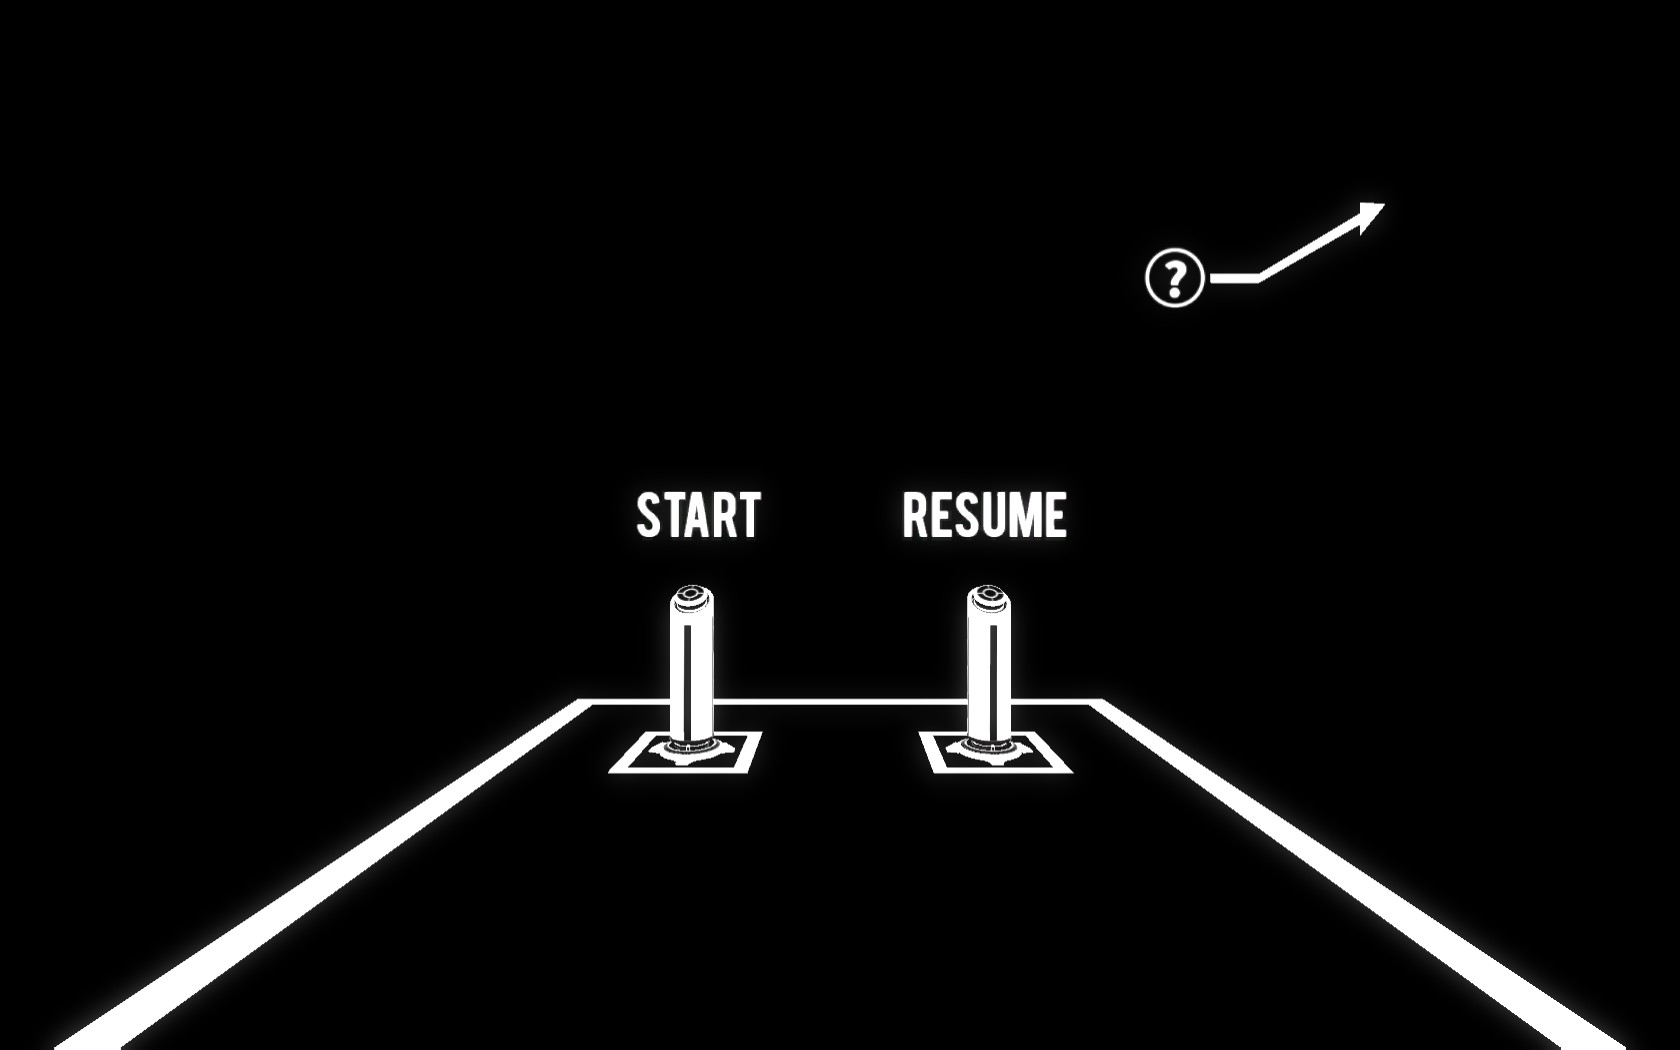
The “start” button will teleport you to the actual start of the map. The “resume” button will take you to the last checkpoint you passed so you can continue playing where you left off.
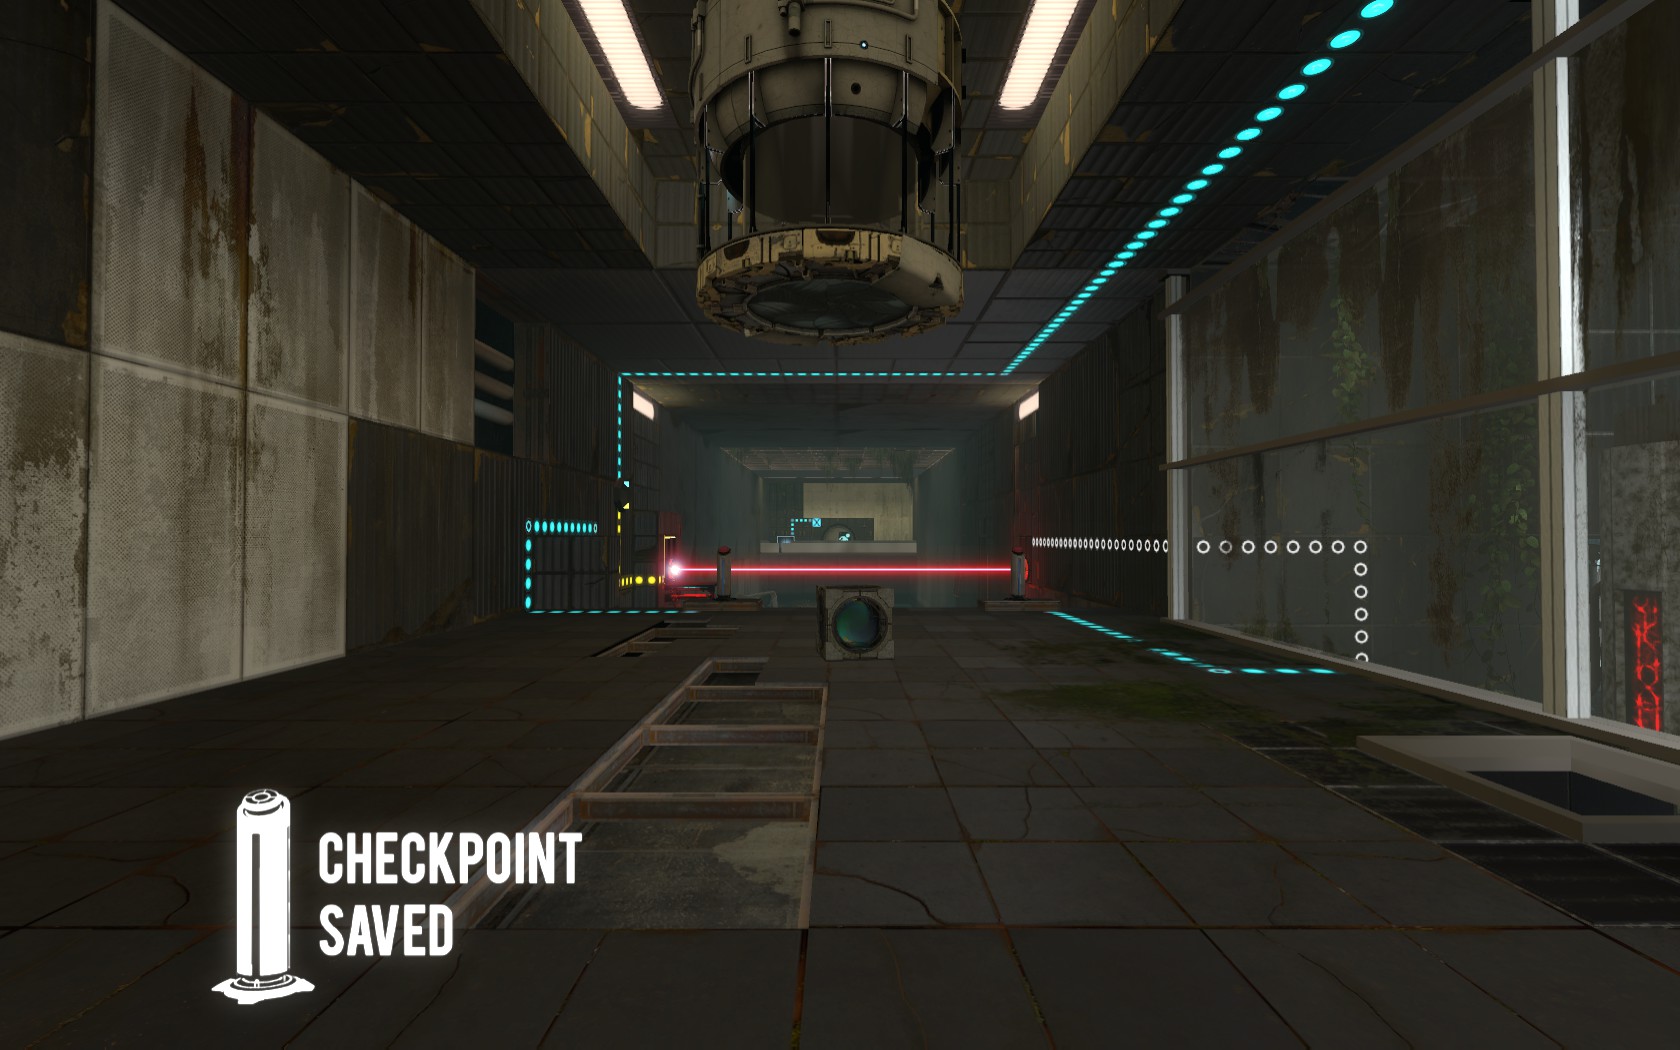
When you pass a checkpoint, an indicator will appear on your screen to let you know that the game has been saved. You can quit here if you choose and continue later without any progress lost.
Although not available in the game menu, the normal quick-save and quick-load hotkeys (F6 and F7 by default) are fully functional in workshop maps, so you can still save at any place you want. (Although this will not be map-specific; it will replace any existing quick-save you have from another map.) If you character dies, the game will resume from the most recently saved game, whether it be a normal quick-save or a map-specific checkpoint.
Note: to continue from a normal (F6) quick-save after you have left the map, first start the same map via the workshop menu, wait for it to load, and then press F7 to load your quick-save. If you don’t do this, the game will not know that you’re playing a workshop map and it will not show the voting window at the end; you will have to press the escape key and choose “exit to main menu” to get out.